|
Stereo Upgrade
Step 1: it's Dy-na-MAAAAAT
I dynamat'd the compartment the sub enclosure sits in. I only plan to do this once, so might as well do it right. I had previously done the entire rear hatch of my old Probe, so one little compartment was a snap.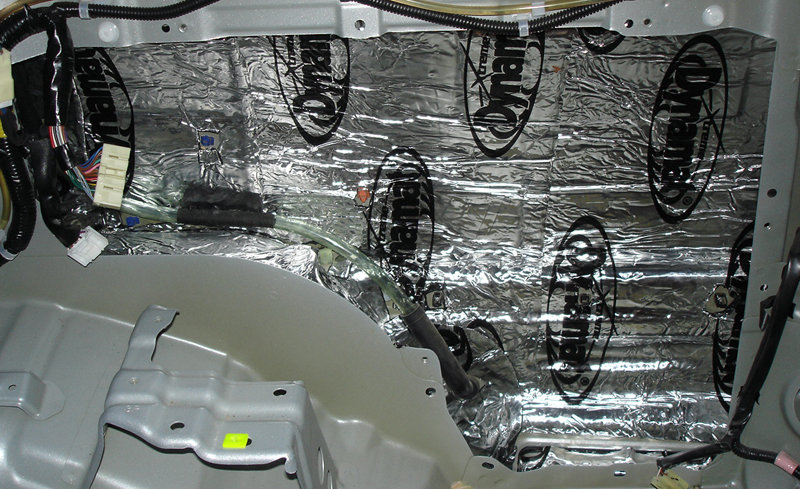
Step 2: woof
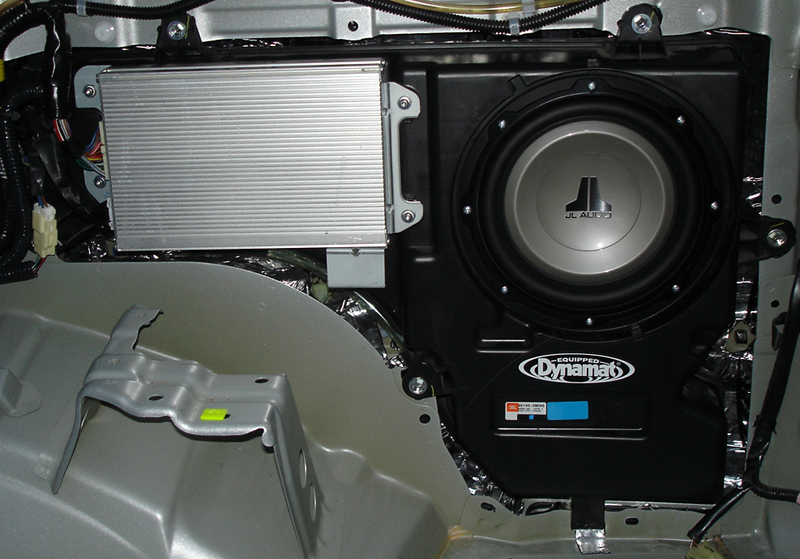
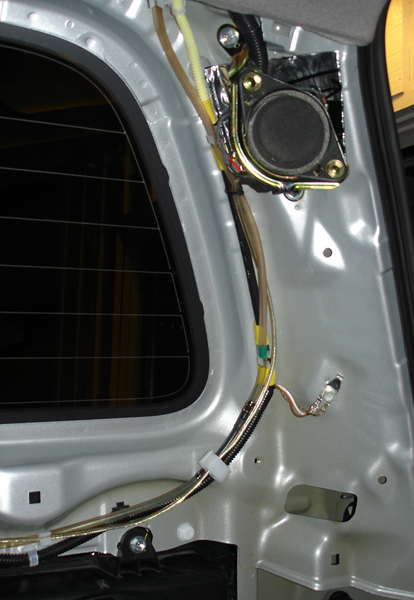
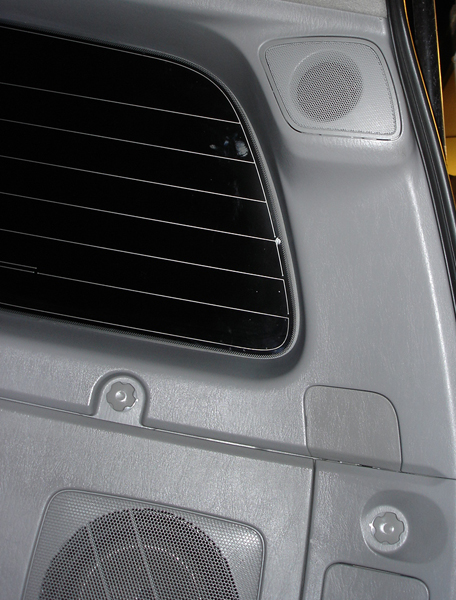
Next comes the JL 8w1v2-4 in place of the factory 8" sub. Standard webbing removal via a Dremel. I was able to get metal speed nuts on four of the eight new screws holding the sub to the enclosure, so I'm confident it will hold tight.
I elected not to dynamat the sub enclosure itself. I did put a square between each mounting point and the body, though. I ran the new speaker wire through the factory grommet into the enclosure and wired the factory amp's sub outputs to the high-level input on the new sub amp (using the factory connector, visible at left).
Step 3: AmplifY
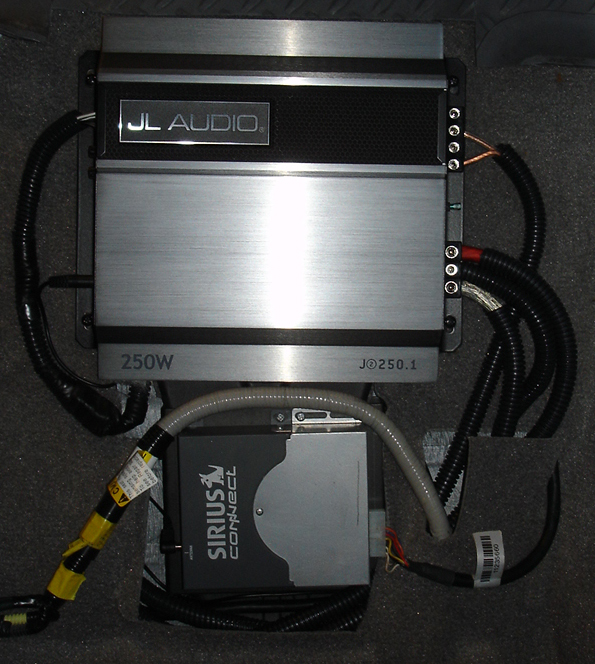
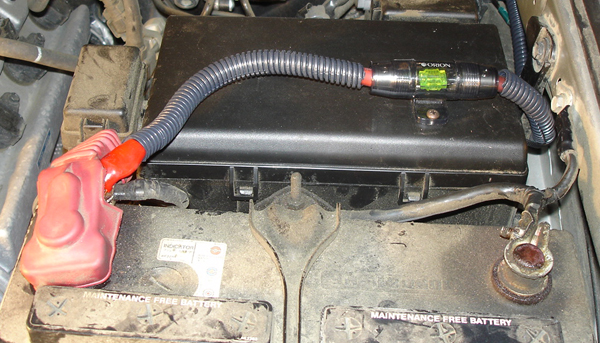
I installed a JL J2 250.1 amp to power the new sub. I used 4 awg wire for power and ground in case I ever want to run something bigger. I got the remote turn-on from the 12v outlet in the center console.
I ran the amp's remote level control into the bin above the cup holders. That's where I run it for normal listening. There's still 35% more bass to be had at the turn of a knob!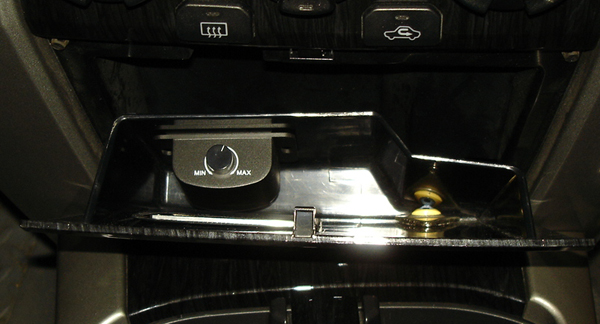
Safely fused!
All buttoned up!
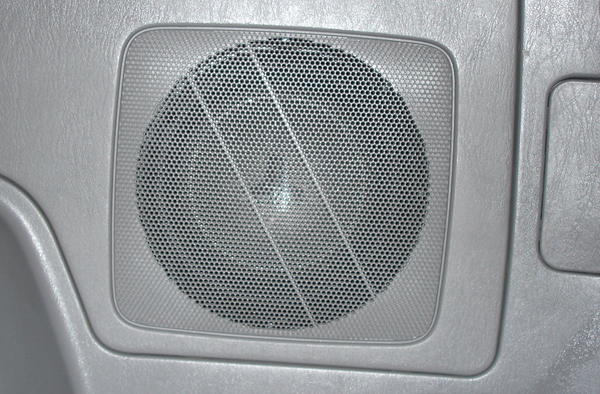
I also took the opportunity to install 2 speakers in the spot where they would have come if this truck had the 10-speaker option. I wired them to the factory amp.
The improvement is phenomenal. What started as a sub upgrade turned out to be an whole stereo upgrade; it sounds like I installed an entirely new system. Considering I got all the gear on close-out deals with free shipping, and sourced JL wiring for the amp from a local install shop I could have spent twice as much and still been happy!
Interior LED conversion
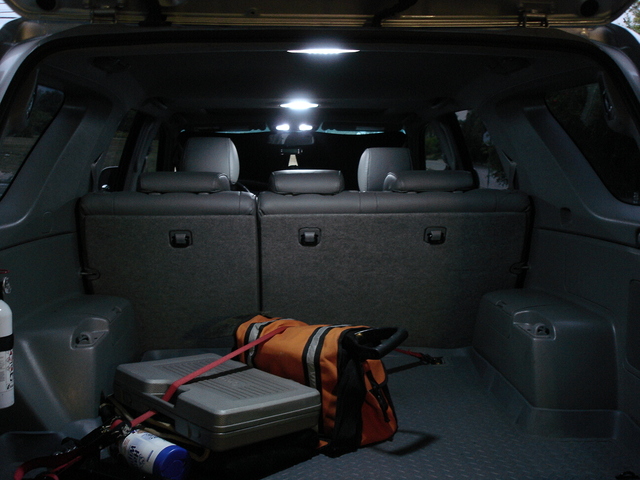
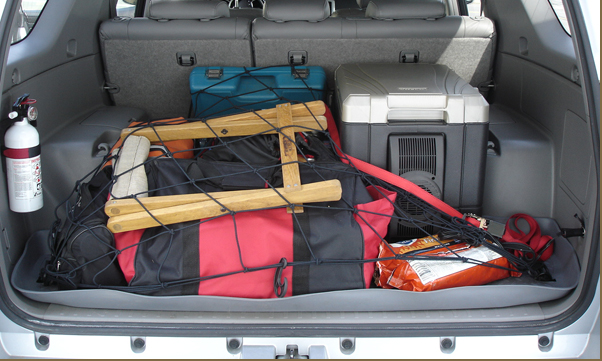
Expedition gear
Various recovery gear bags, repair tools, and emergency items. A Coleman PowerChill keeps food nice and cold for several days.
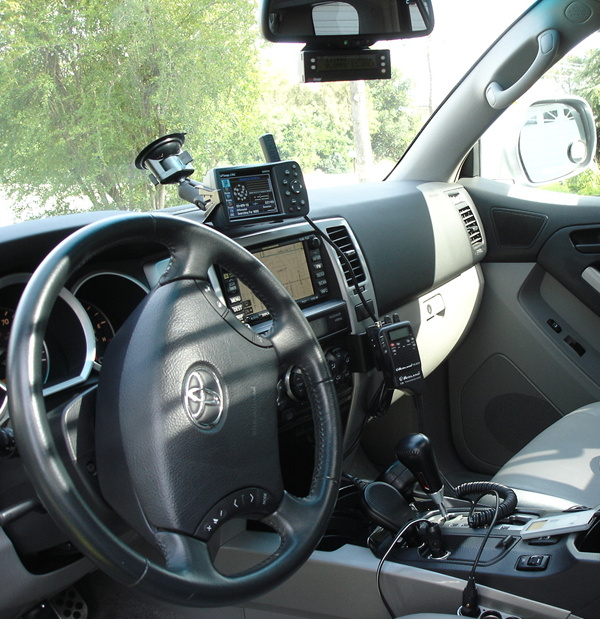
Electronics
ScanGaugeII, Garmin 276c gps, Factory navigation, Midland 75-822 CB with a Wilson 5000 w/short-load whip, iPod, extra 9v outlets.
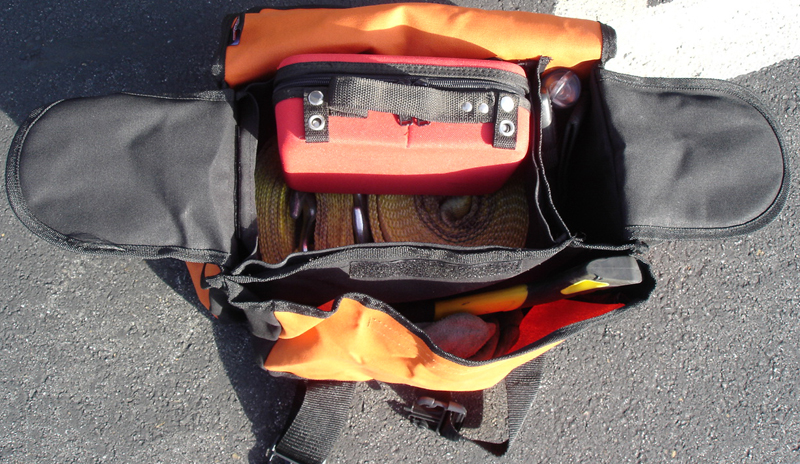
ARB gear bag
I needed a place to keep my misc. gear I had in the rear hatch side compartment in my old truck since I have the subwoofer there now. I bought an ARB gear bag, they run about $50. Everything I had loose in the back of the new truck fits in perfectly: a few "street rescue" straps, first aid, gloves, hatchet, knife, no-battery LED flashlight, a tire pressure gauge in one outside pocket, and shackles in the other.
The inside liner for the main pouch is removable so you can wash it out. It's pretty heavy duty and has a padded shoulder strap. This bag complements my Hi-Lift Off-Road Kit and Overland Warehouse Recovery Kit nicely.

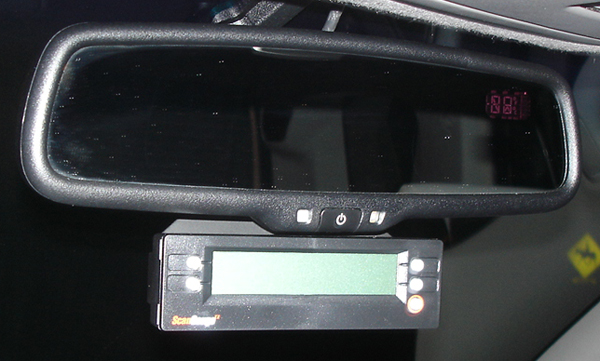
ScanGaugeII
I added a ScanGaugeII, which is an OBDII code reader that can also display up to 4 parameters as a digital gauge. I used a BlendMount to attach it to the rear view mirror.
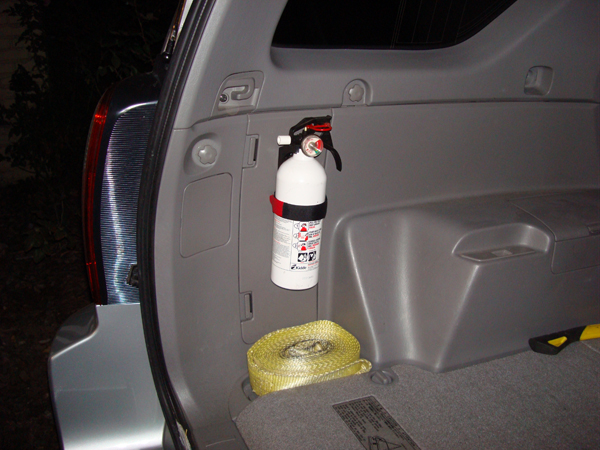
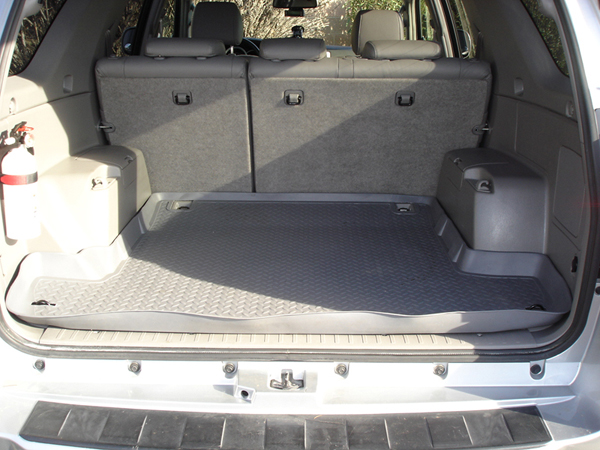
Fire Extinguisher
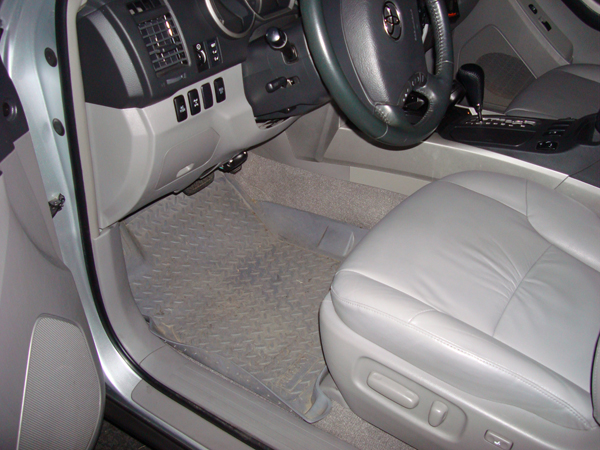
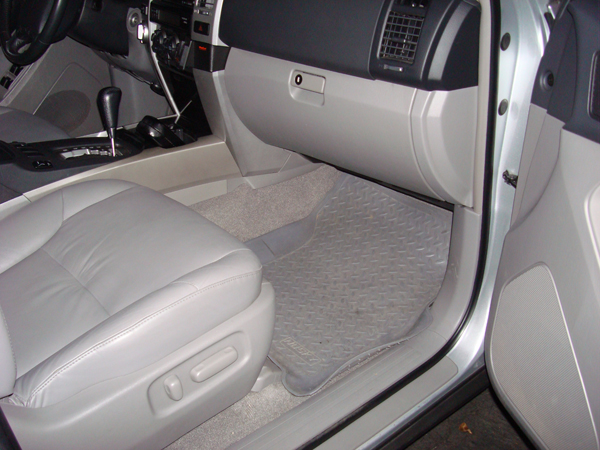
Husky Liners
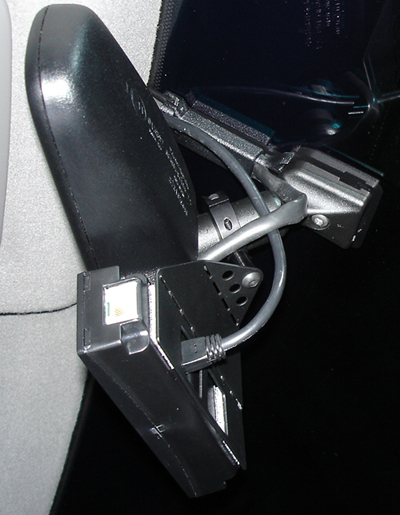
ProClip CB holder

|